

When you find water damage on your floor joists, act quickly to prevent further issues. Start by inspecting the area to determine the severity of the damage. Are the joists damp, or are they rotting? This initial assessment is crucial for understanding the severity of the damage.
You might need to remove the damaged sections. Choosing the right materials and methods is crucial for durable repairs and preventing future moisture problems. Utilising professional water damage restoration services can ensure the job is done correctly and safeguard your home against future water damage.
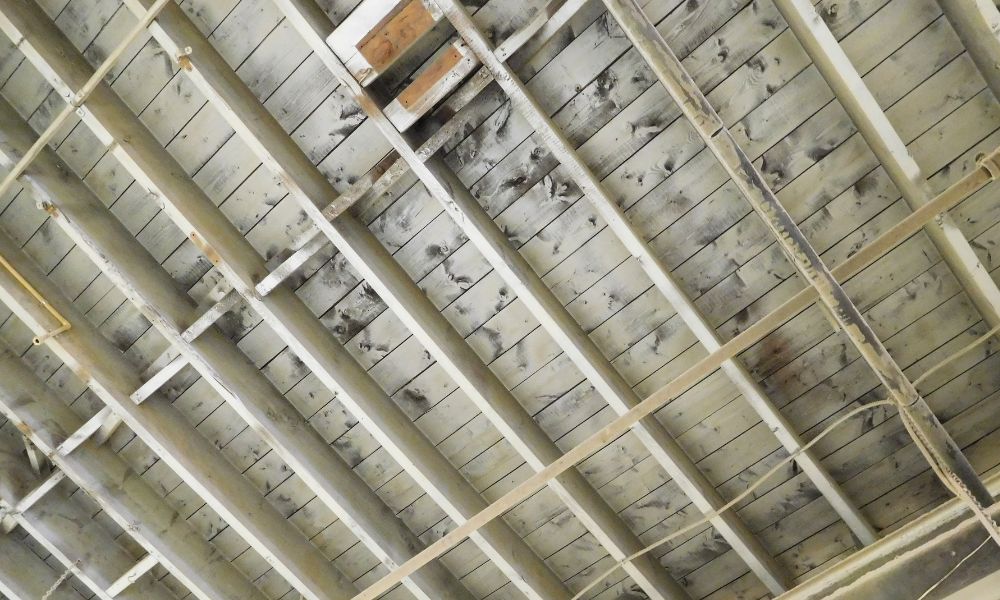
Identifying Water Damage in Floor Joists
Spotting water damage in floor joists early is crucial to prevent further structural issues. Look for dark, damp patches, visible mould growth, sagging or uneven floors, cracked doors or windows, and musty smells. These signs indicate moisture damage, which can lead to severe problems if not addressed properly.
Types of Floor Joist Rot
There are two main types of rot that can affect your floor joists:
- Wet Rot: Wet rot occurs when floor joists are continually exposed to moisture. This condition leads to fungal growth, causing the wood to turn dark brown and display signs of black fungus. This indicates that the wood is weakening, which could risk the stability of your home if not promptly addressed.
- Dry Rot: Dry rot develops more slowly and can be more deceptive. It begins with a slight moisture build-up that may not be immediately obvious. Look for signs like white mould, brittle wood, and increased condensation. Despite seeming less serious, dry rot can penetrate deeply into the wood, compromising the structure from within.
Both conditions significantly affect the structural integrity of your floor joists. Recognising whether you’re dealing with wet or dry rot is crucial for determining the appropriate repair approach.
Common Causes of Damage in Floor Joists
Several common issues can lead to water damage in floor joists, including:
- Water Leaks: Plumbing issues, including older pipers and faulty fixtures, can cause water to leak into the flooring structure. This leads to significant damage to the joists over time.
- Flooding: Flooding from natural disasters or internal home issues like overflowing bathtubs results in water gathering and soaking into wooden joists. This can lead to rot and decay.
- Poor Ventilation: Crawl spaces and basements with poor ventilation contribute to moisture buildup. This creates a damp environment that gradually damages the joists.
- Moisture from Foundation Walls: In older homes with stone or brick foundations, water can seep through cracks and gaps in the foundation walls. This horizontal moisture intrusion gradually damages the joists, compromising your home’s structural integrity.
Recognising these causes and types of damage early can save you time, money, and stress by allowing you to take prompt and effective action to repair and prevent further damage.
Step-by-Step Guide to Repairing Water-Damaged Floor Joists
Step 1: Assess the Damage
Begin by thoroughly inspecting the affected area to determine the extent of the damage. Identify which parts of the joists are damp or rotting and need to be removed. This step is crucial for ensuring that only the irreparable sections are taken out.
Step 2: Remove Damaged Sections
Carefully remove the damaged portions of the floor joists. This process involves cutting out the affected areas to make room for new, undamaged wood. Ensure all compromised wood is removed to prevent further deterioration.
Step 3: Strengthen the Structure
If the damage is extensive, add extra support to the frame. This reinforcement is necessary to maintain the floor’s stability and ability to handle daily weight and stress. Opt for moisture-resistant plywood for repairs, as it is more durable in damp conditions.
Step 4: Fit the New Plywood
Measure and cut the new plywood accurately to fit within the existing frame. Precision is essential to restore the floor’s original strength. Securely attach the new plywood to the floor structure using appropriate fasteners, ensuring each piece is tightly fixed to prevent movement or noise.
Step 5: Complete the Repair
After fitting and securing the new plywood, the repair is complete. This restores the functionality and safety of your floor system, ensuring it remains strong and stable.
Preventing Water Damage on Floor Joists
Preventing future water damage is crucial for maintaining the integrity of your floor joists. The following preventative measures can be done to protect your home.
Implementing Moisture Barriers
Installing moisture barriers, such as polyethylene sheets, is essential for preventing moisture from reaching your floor joists. These barriers are particularly important in areas with high humidity or frequent leaks. Ensure the barriers cover the entire area and overlap at the seams, sealing them with waterproof tape to prevent any gaps. Consulting with a professional can help you select and install the best moisture barrier for your specific needs.
Enhancing Ventilation Solutions
Improving ventilation in crawlspaces and basements is vital to reduce moisture accumulation. Good airflow in these areas prevents damp conditions that lead to mould and wood rot. Install vents, use dehumidifiers, or set up fans to manage humidity levels effectively. Strategically placing vents will promote continuous airflow, helping to dry out existing moisture and prevent future buildup.
Conducting Regular Maintenance Checks
Regularly inspect your home for leaks, dampness, or signs of water damage, especially in hidden areas like crawlspaces and basements. Early detection can save you from extensive and costly repairs. Key steps include:
- Fix Plumbing Leaks: Address any dripping or pooling water quickly to prevent it from soaking into your floor joists.
- Ensure Good Ventilation: Maintain low humidity in crawlspaces and basements to prevent moisture buildup.
- Install Gutters and Downspouts: These systems channel rainwater away from your foundation, protecting the structural integrity of your house.
If you’re unsure about performing these checks, consider hiring a professional. Regular expert assessments ensure that your home remains strong and dry, protecting your floor joists from water damage and extending their lifespan.
Ready to Repair Your Water-Damaged Floor Joists?
Dealing with water-damaged floor joists can be challenging and stressful. Let our team of experts at RestorePro guide you through the repair process with ease and confidence.
At RestorePro, we specialise in comprehensive solutions for water-damaged floor joists. From early detection to professional repairs and preventative measures, we ensure your home’s structural integrity is restored and protected.
Need assistance with your floor joist repairs? Contact us today at 0800 843 776 or email us at info@restorepro.co.nz. Your home’s safety and durability are our top priorities.